HackTown
Cyber Criminal University - Home

You are not logged in. You will only be able to access the courses in GREEN from the course list.
Chapter 3 - Pre-Requisites
All of the code you need to copy and paste into Terminal or the Command Prompt will be RED. Anytime you see something in RED you know that it's syntax code and should be entered into Kali, Terminal, Windows Command Prompt, etc.
It's best to have (2) network cards capable of injection.
Computer/Laptop
The more memory your computer has the better it will be because being able to run multiple VM's at once is very beneficial. When you run VM's you dedicated some RAM to those machines and operating smoothly is what everyone wants. Hard drive space is important too if you plan on having a multiple VM's as each can take up to 10GB each minimum.
"Professional" cybercriminal maniacs have their machines like:
Download VirtualBox and the VirtualBox Extension Pack from:
https://www.virtualbox.org/wiki/Downloads
Download Kali VirtualBox
https://www.kali.org/get-kali/#kali-virtual-machines
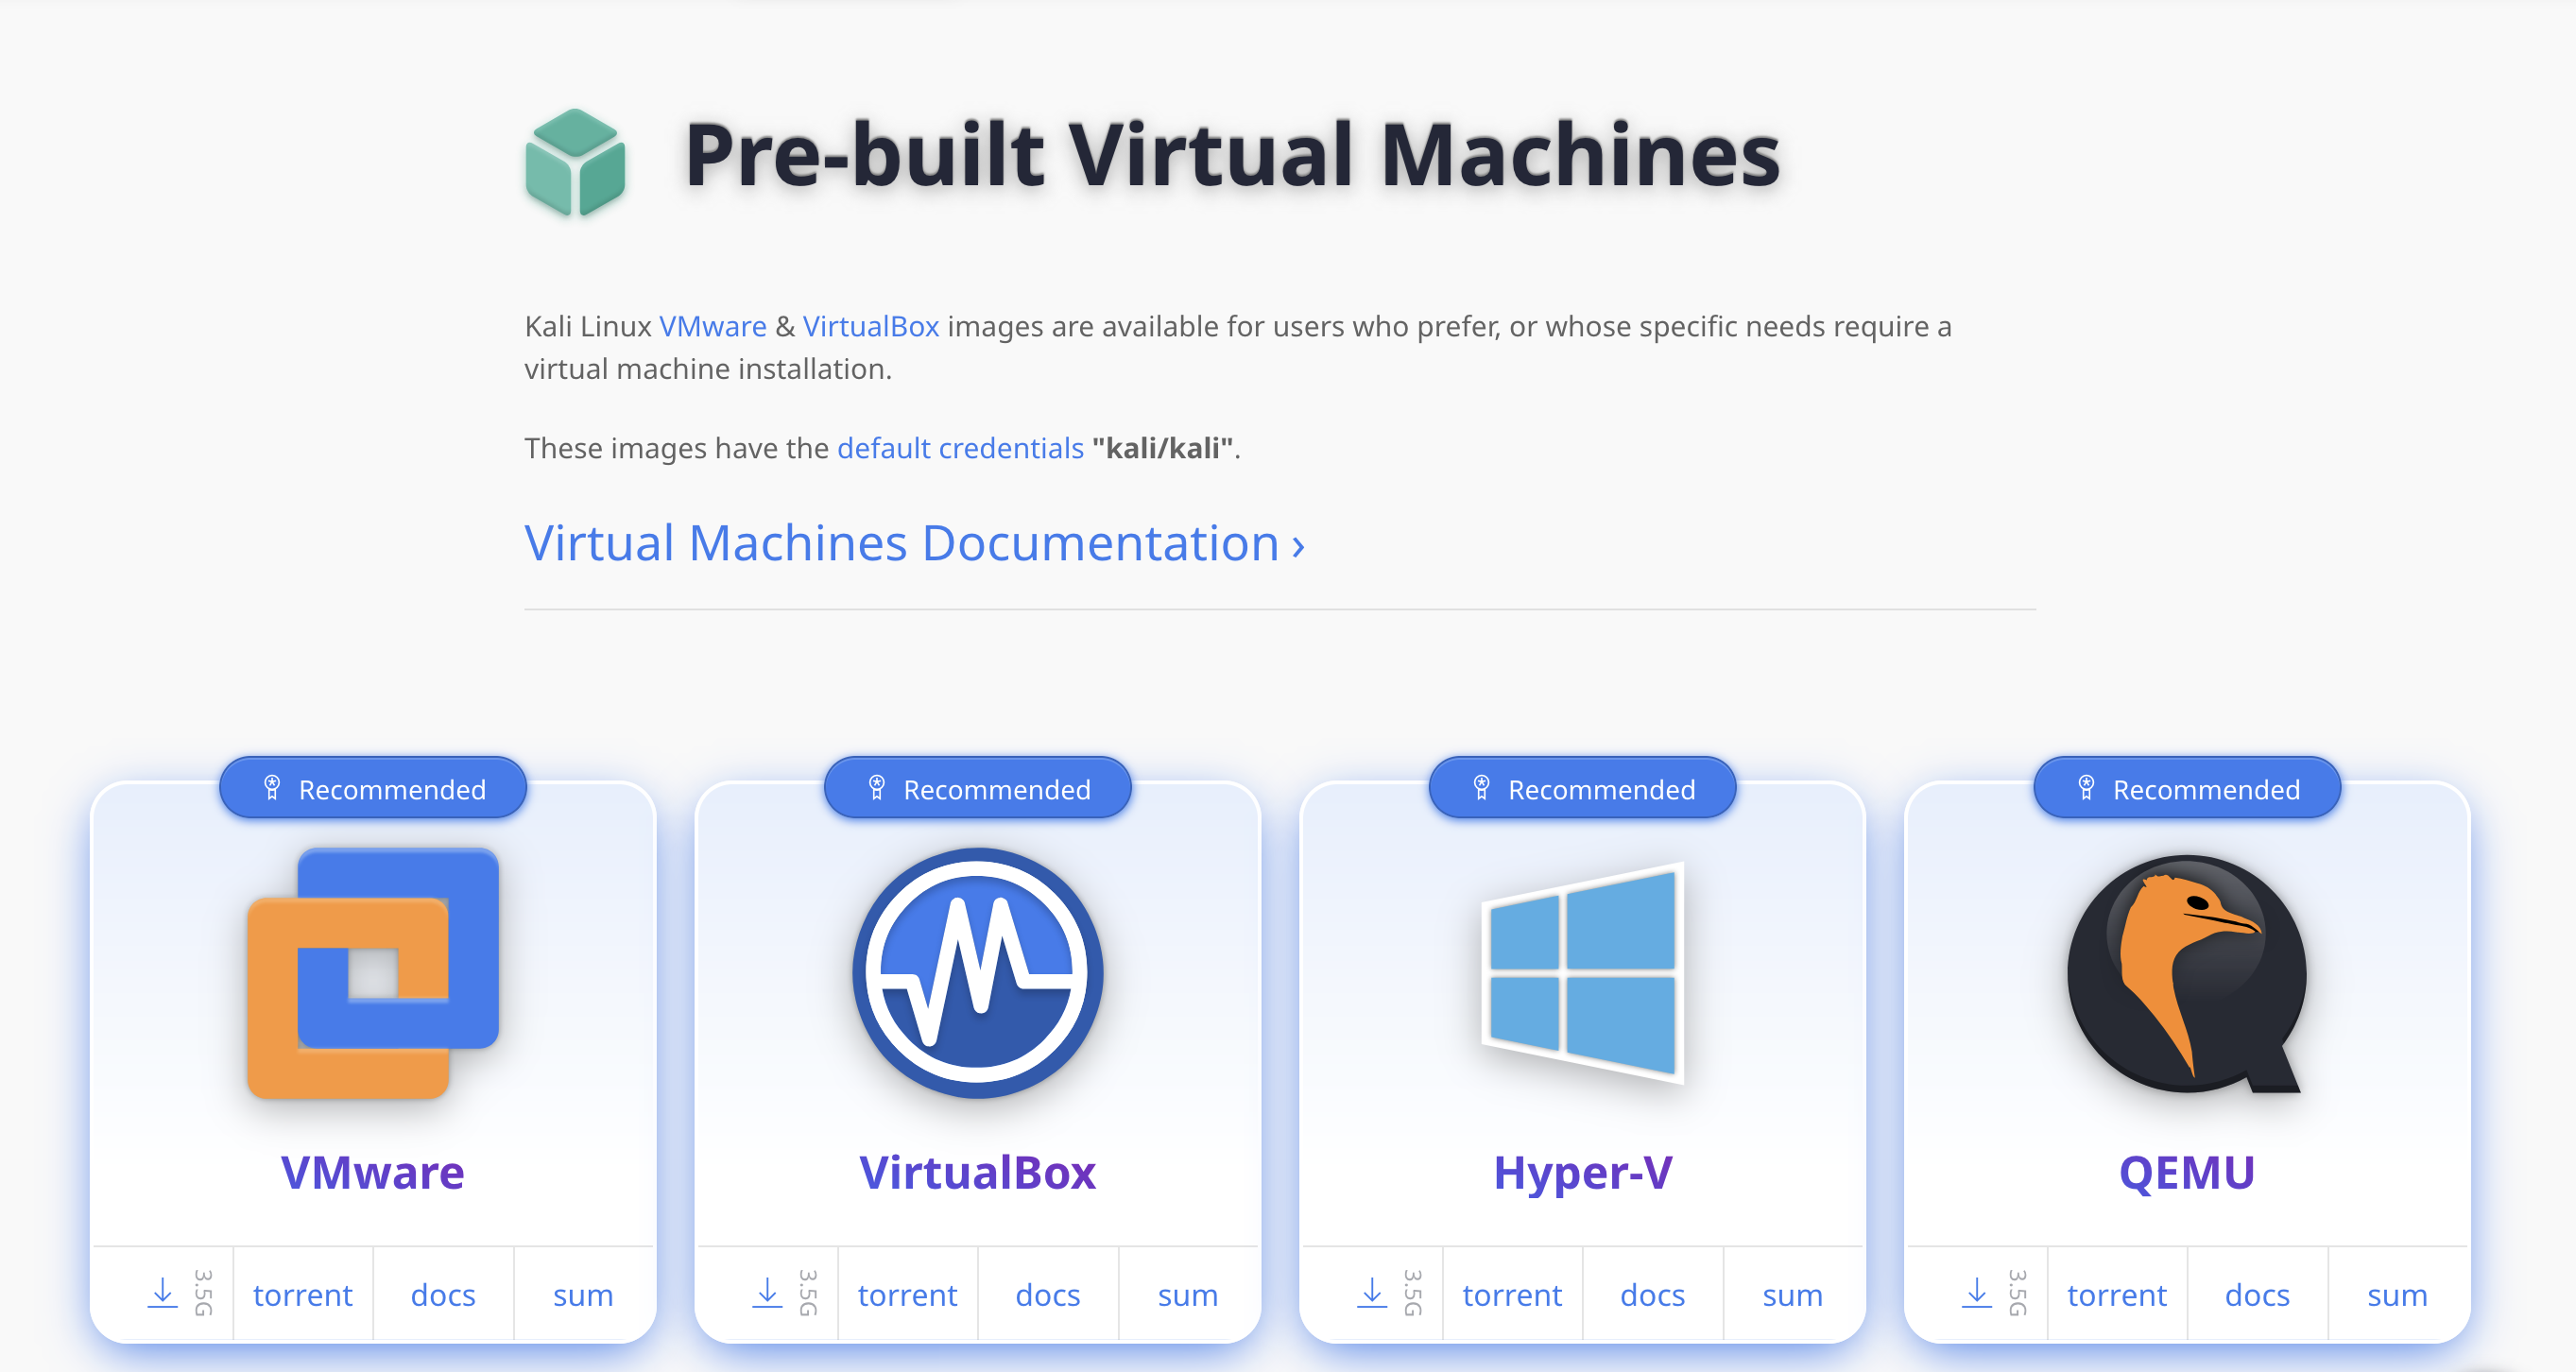
If you can't run any VMs with VirtualBox or VMWare then I'm afraid your computer just isn't up to par sisters and brothers. If Kali boots up and you're at the Kali desktop then good!
OK this is the part that will differ for people depending on which network card you purchased.
Click here if you purchased the AWUS036NH network card.
Click here if you purchased the AWUS036NHA network card.
Click here if you purchased the AWUS036ACH network card.
Click here if you already know your network card is capable of injection or want to continue.
AWUS036NH network card setup instructions.
Make sure you have installed the VirtualBox Extension Pack from:
https://www.virtualbox.org/wiki/Downloads
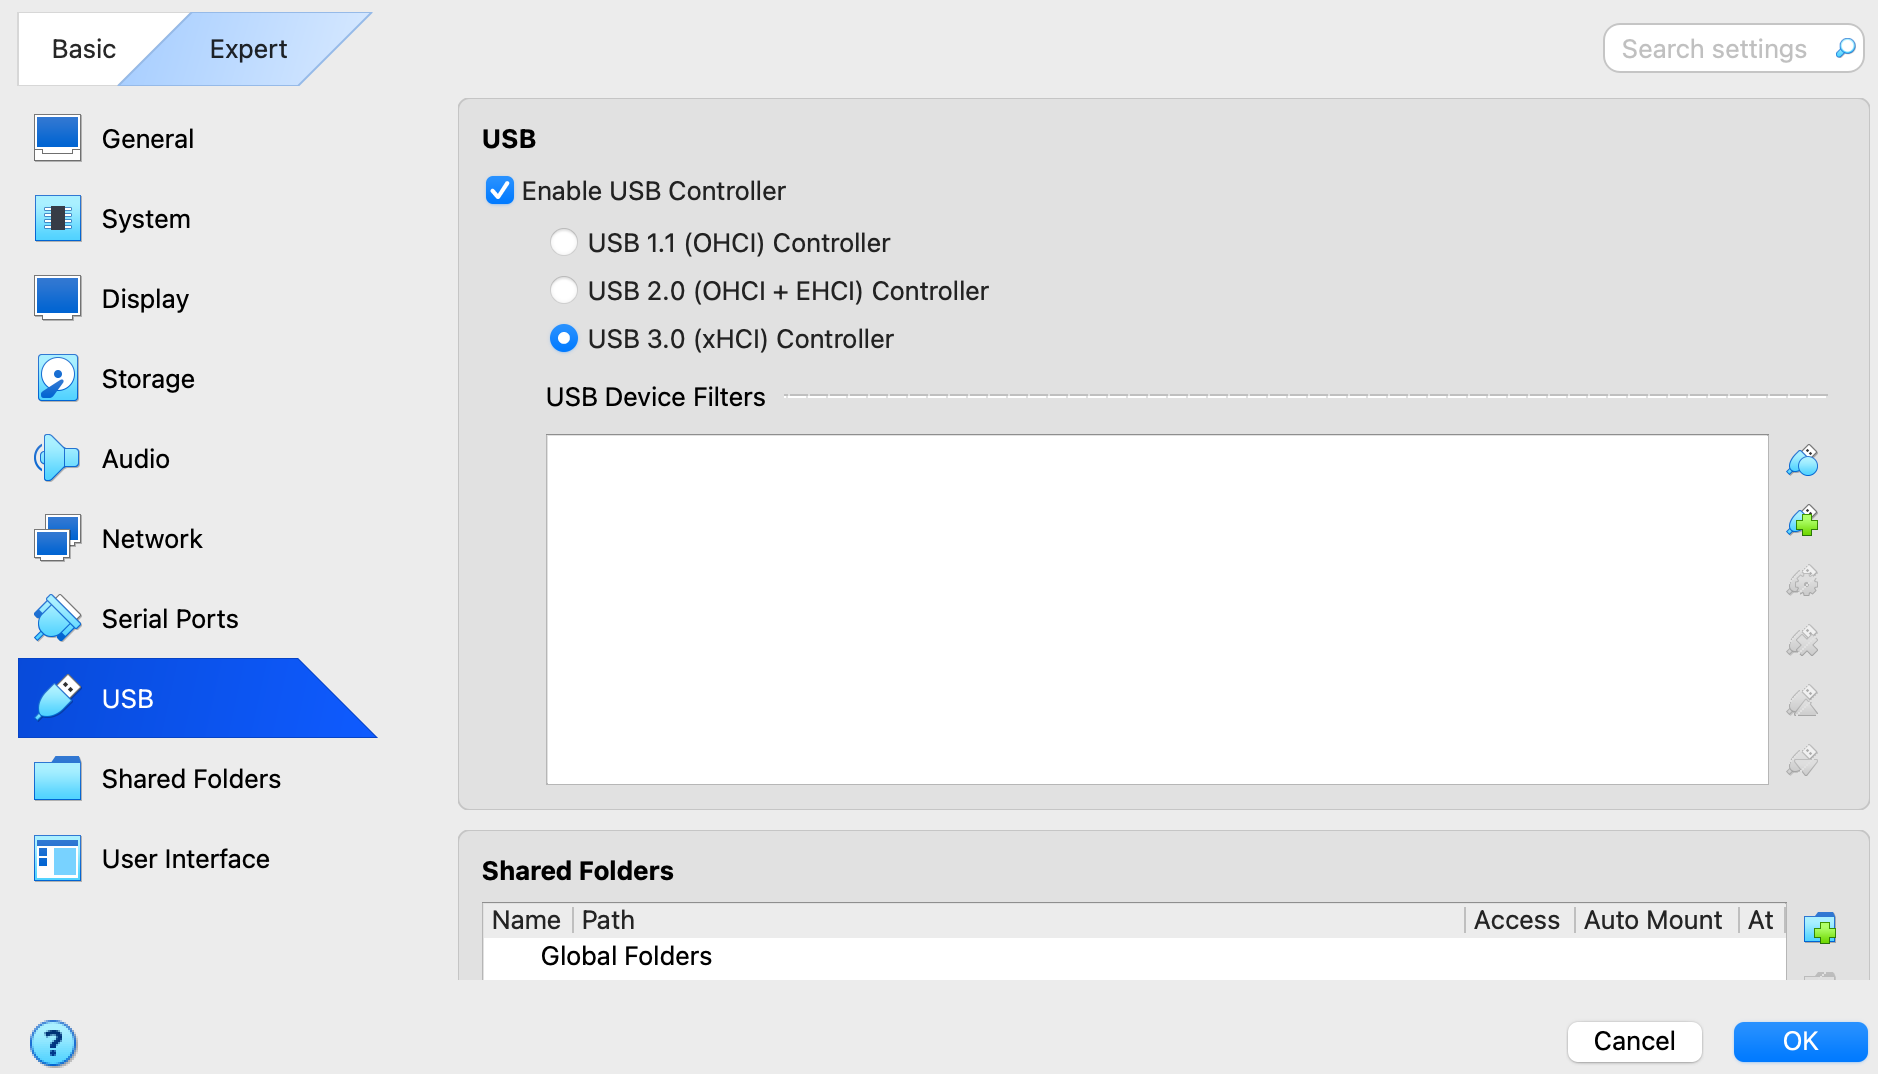
Once Kali starts and you're presented the Kali Desktop click on "Devices" from the top Menu, then "USB", and finally select the Alfa network adaptor (usually top 2) to attach your Alfa card to your Kali VM. You will have to do this twice if you're using (2) cards. You can add your cards to have them automatically attached to your Kali VM under "USB Settings" or you will have to attach the Alfa network card each time you plug it in to use it.
Your Alfa network card is properly installed and ready to cause chaos.
When that's complete Click here to continue.
AWUS036NHA network card setup instructions.
Make sure you have installed the VirtualBox Extension Pack from:
https://www.virtualbox.org/wiki/Downloads
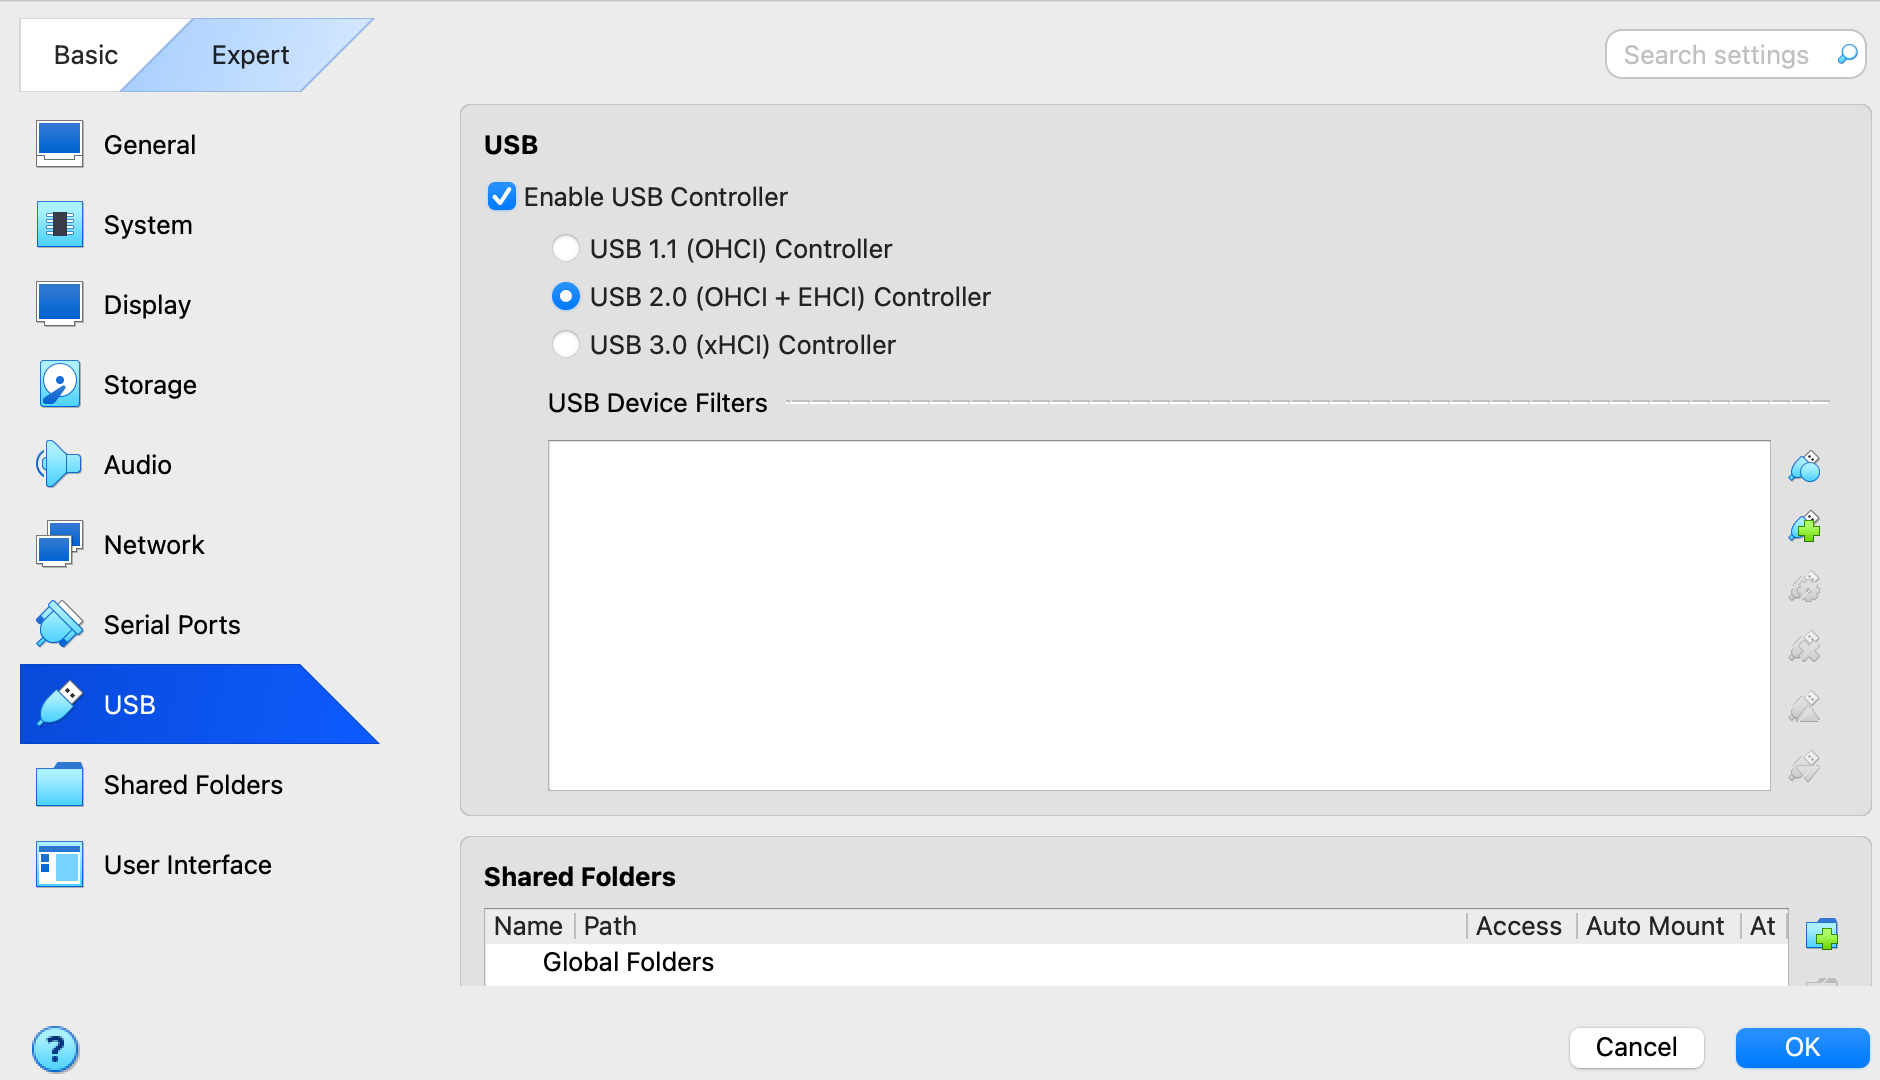
Once Kali starts and you're presented the Kali Desktop click on "Devices" from the top Menu, then "USB", and finally select the Alfa network adaptor (usually top 2) to attach your Alfa card to your Kali VM. You will have to do this twice if you're using (2) cards. You can add your cards to have them automatically attached to your Kali VM under "USB Settings" or you will have to attach the Alfa network card each time you plug it in to use it.
Your Alfa network card is properly installed and ready to cause chaos.
When that's complete Click here to continue.
AWUS036ACH network card setup instructions.
Make sure you have installed the VirtualBox Extension Pack from:
https://www.virtualbox.org/wiki/Downloads
If you purchased the AWUS036ACH you will need install the drivers in Kali to get it working.
To do this type the following into Kali in Terminal:
sudo apt update && sudo apt dist-upgrade -y
sudo apt install realtek-rtl88xxau-dkms -y
sudo shutdown -h now
Once Kali starts and you're presented the Kali Desktop click on "Devices" from the top Menu, then "USB", and finally select the Alfa network adaptor (usually top 2) to attach your Alfa card to your Kali VM. You will have to do this twice if you're using (2) cards. You can add your cards to have them automatically attached to your Kali VM under "USB Settings" or you will have to attach the Alfa network card each time you plug it in to use it.
Your network card is properly installed and ready to cause chaos.
When that's complete Click here to continue.
Continuing on...
If you encounter an issue with your USBs and Kali won't start without an error this is most likely because you don't have a USB 2.0 or 3.0 port which means the computer you're using is a thousand years old? Make sure your Alfa card is plugged in and attached to your Kali VM with the proper USB settings selected for it. If you do not have a USB 3.0 or USB 2.0 port on your computer you won't be able to use the Alfa network cards recommended in this course and will not be able to continue so upgrade your shit ladies and gentlemans.
Next we need to setup our Kali machine.
Ensure you're connected to the Internet on your host machine and open Terminal in Kali VM. If you don't know where the Terminal is then search for it using the search function in Kali.
You should be able to copy text from your host OS and paste it directly into your Kali VM Terminal. This way you reduce the chances of making silly mistakes when copying the syntax out. Copy all the syntax and paste it into Terminal for ease and if you can't do this then most likely you're using VirtualBox and still need to install the VirtualBox Guest Additions which is a simple Google search away.
Open a new Terminal and type:
sudo apt update && sudo apt dist-upgrade -y && sudo apt install install iproute2 pciutils usbutils bsdmainutils procps wifipumpkin3 wifiphisher lighttpd vsftpd isc-dhcp-server dnsmasq hostapd-wpe hcxtools mdk4 pkg-config libcurl4-openssl-dev hostapd cupp libnl-3-dev zlib1g-dev libnl-genl-3-dev python3-pip libssl-dev libffi-dev build-essential libpcap-dev xterm bettercap hostapd-mana asleap beef-xss -y && sudo apt autoremove -y
If you get any errors at all when running the above command such as:
"E: Could not get lock ...."
Then run these commands before running the above command again:
sudo rm /var/lib/dpkg/lock-frontend
sudo rm /var/lib/dpkg/lock
sudo rm /var/cache/apt/archives/lock
Once you've run those commands you can the run the above update command with success.
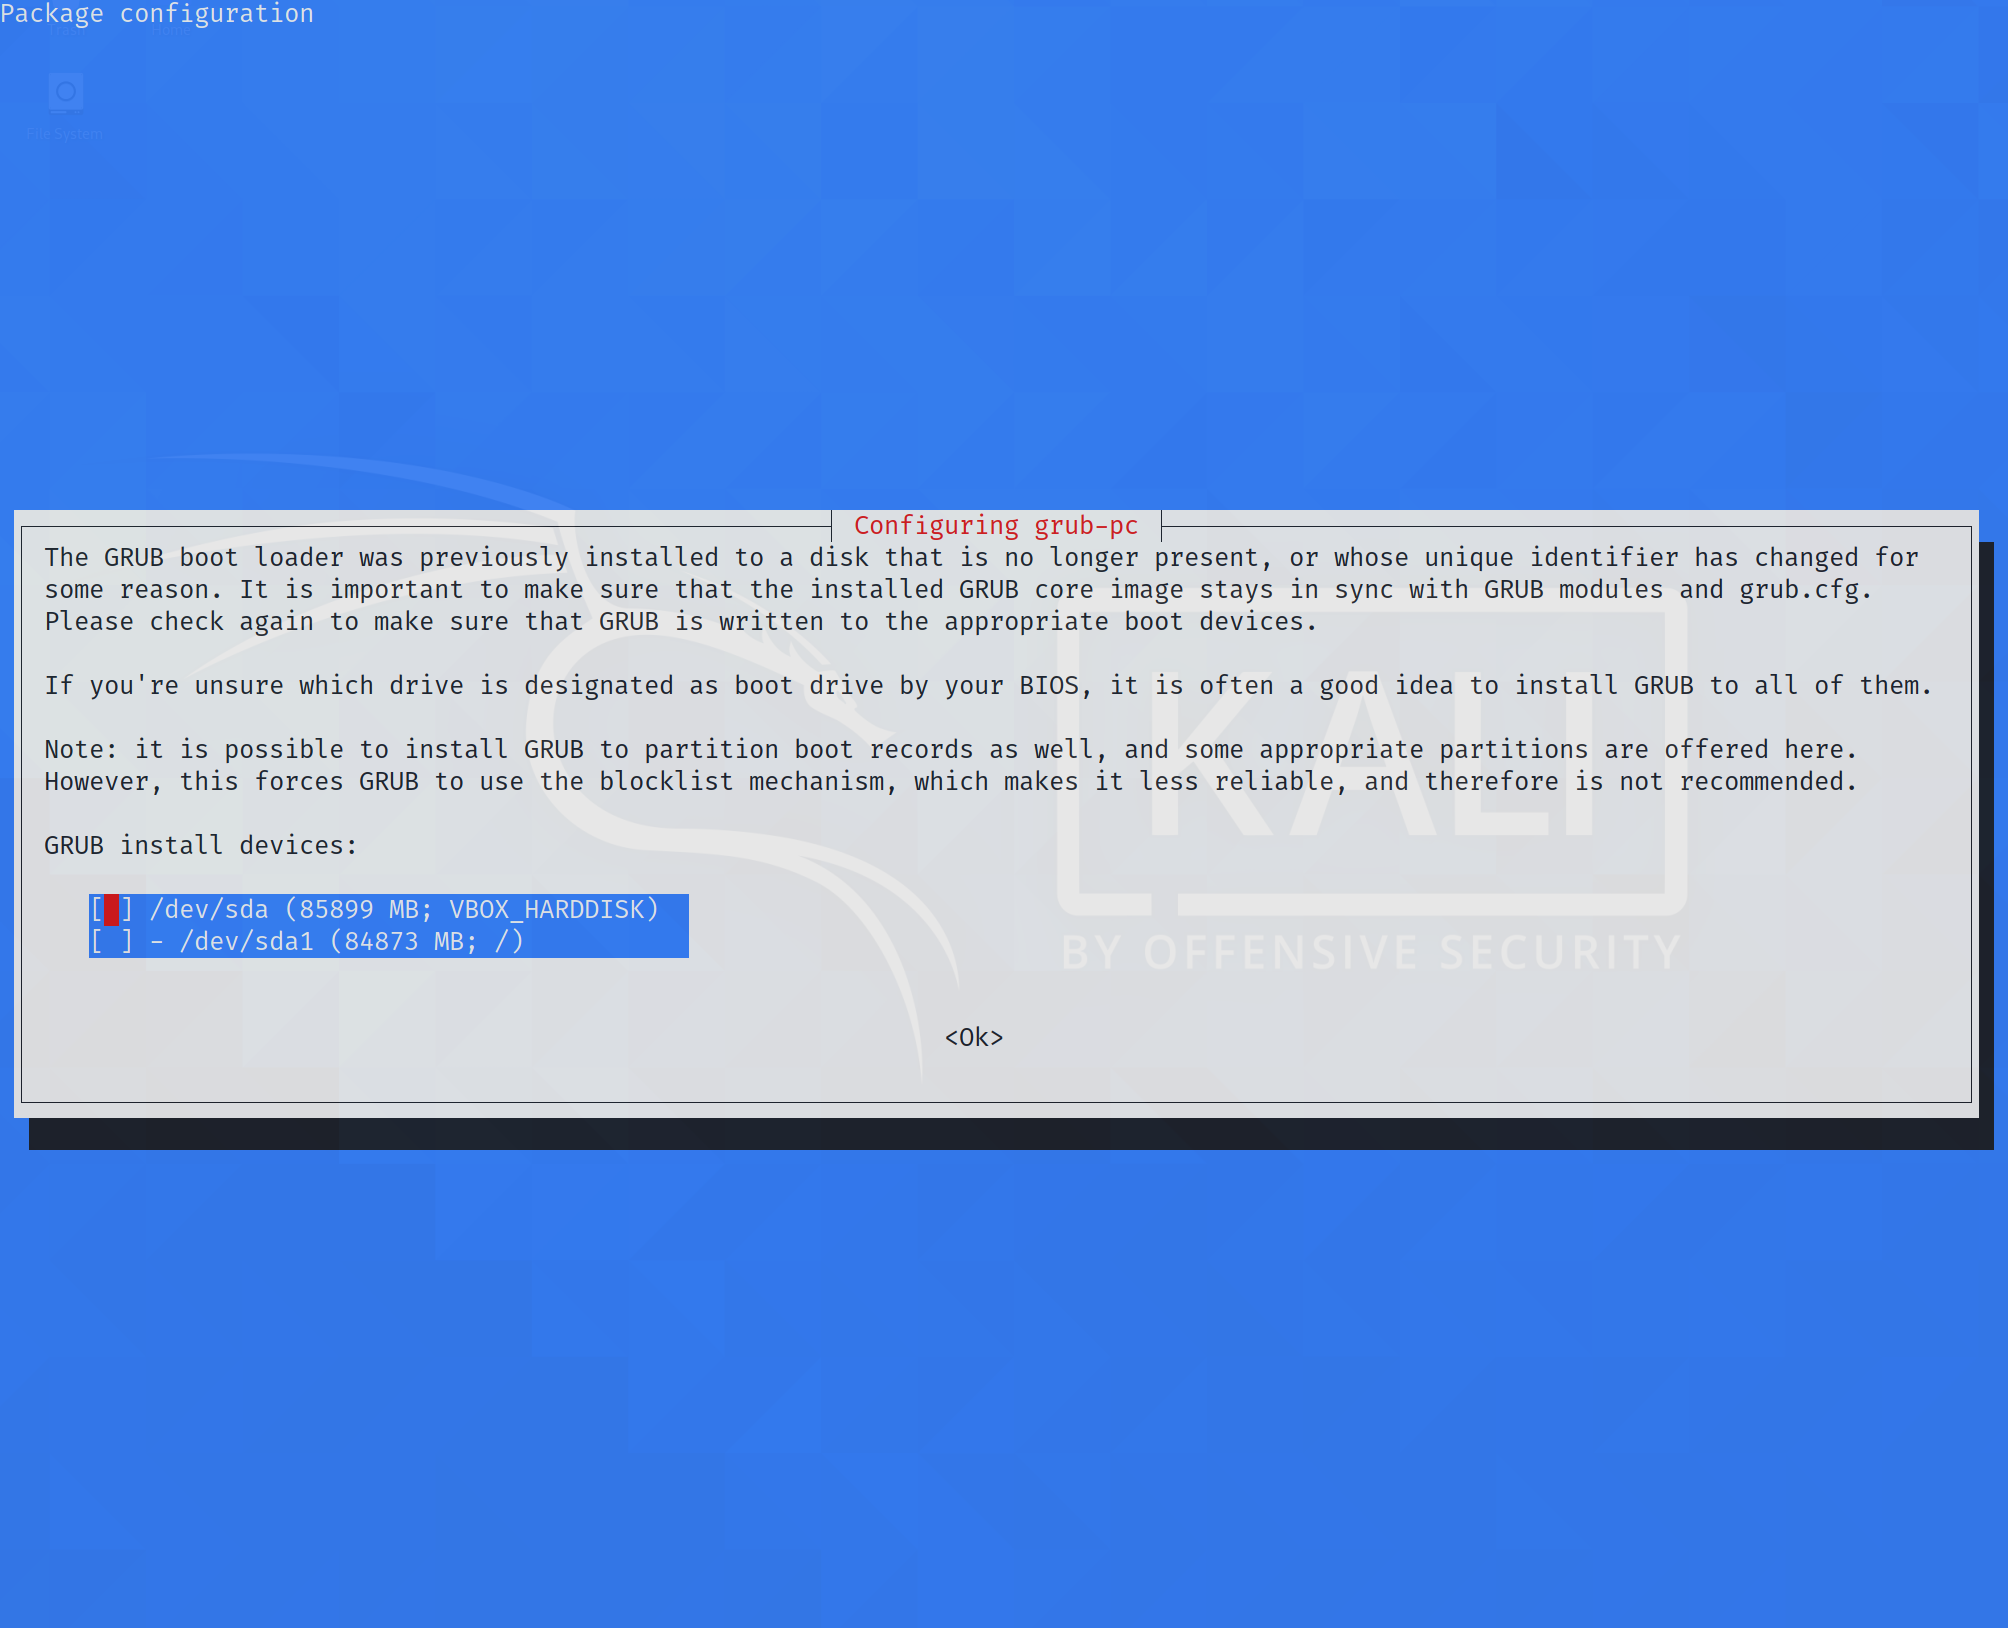
If you encounter the screenshot below hit spacebar on your keyboard to select "/dev/sda" and hit ENTER.
Once that's done run the following commands in Terminal:
git clone https://github.com/D3Ext/WEF
git clone --depth 1 https://github.com/v1s1t0r1sh3r3/airgeddon.git
git clone https://github.com/cryptolok/DMC.git
chmod +x DMC/dmc.sh
git clone https://github.com/ZerBea/hcxdumptool.git
cd hcxdumptool
make
sudo make install
cd
rm -r hcxdumptool
sudo gzip -d /usr/share/wordlists/rockyou.txt.gz

Now is a good time to research Kali Linux. Don't get overwhelmed by the amount of tools available and your lack of knowledge surrounding them but try and stay focused on what interests you. Becoming a hacker or cybercriminal takes time and requires you to learn just like others before you have. Take it step by step.
Remember, becoming an efficient and effective cybercriminal isn't going to happen overnight but learning how to compromise Wi-Fi networks is an important step in remaining out of trouble so let's just focus on that for now.